Digital Smile Design is a modern method that plans the harmony between the face and teeth using scientific criteria. This content offers you a data-driven, predictable, and minimally invasive process. First, photos, videos, and 3D scans are taken. Then, facial proportions and the gum line are analyzed digitally. The resulting model is tested in the mouth. This allows you to see your new smile in the mirror and on video.
Applications are personalized. Orthodontics, gum shaping, and porcelain veneer options are integrated as needed. The goal is to improve aesthetics, function, and tissue health simultaneously. The duration, cost, and maintenance plan are clear from the outset. Records are archived at the end of treatment. Follow-up appointments are scheduled to ensure long-term stability.
The basis of DSD: Definition, purpose, and candidate selection
Digital smile design combines facial analysis and dental planning under one roof. The goal is to improve both aesthetics and function. The plan progresses on an individual basis. It begins with photographs, videos, and intraoral scans. The dentist reads the facial proportions, lip line, and gum levels together. The result is a predictable draft. This approach is not limited to veneers. Orthodontics, periodontology, and prosthetics are integrated when necessary. If there is active gum disease, it is treated first. Cavities are cleaned. The candidate is someone with clear expectations, good oral hygiene, and controlled teeth grinding. This ensures the process proceeds safely. Clinical communication is clarified. The need for revisions is reduced.
Common reasons for consultation:
- Worn and shortened incisors
- Diastema and malocclusion
- Gummy smile and asymmetrical gum line
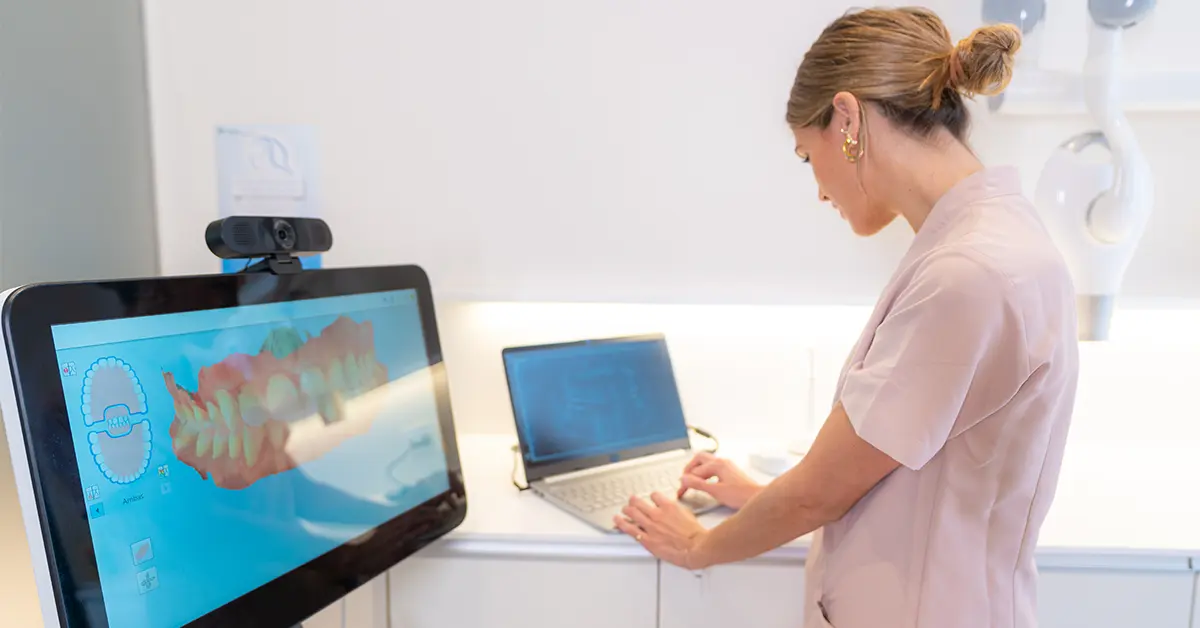
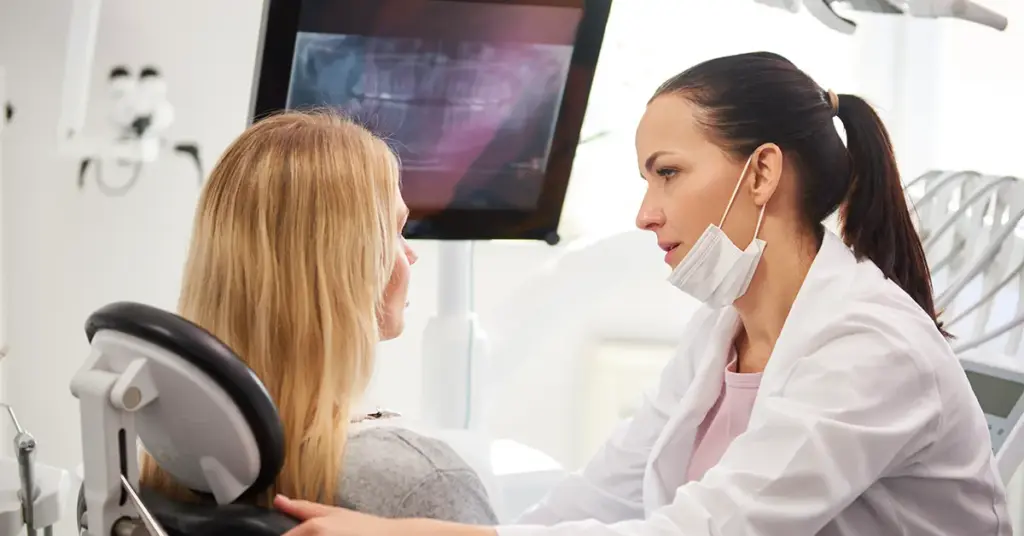
Data collection: Photos, videos, and 3D scanning
Diagnosis is based on accurate data. Standardized photos are taken during the digital smile design process. Smile, rest, and profile records are taken. Short videos show facial expressions. An intraoral scan is used to obtain a three-dimensional model. A bite record reflects the occlusion. Color measurement is performed. All data is matched in the same patient file. Facial and dental axes are aligned. This reduces diagnostic errors. A repeatable plan is created. Patient expectations are recorded. This stage saves time. Future retrospective comparisons are made easier.
Primary data collected:
- Frontal, profile, and smile photographs
- 3D digital models and bite registration
- Color/opacity measurement and periodontal mapping
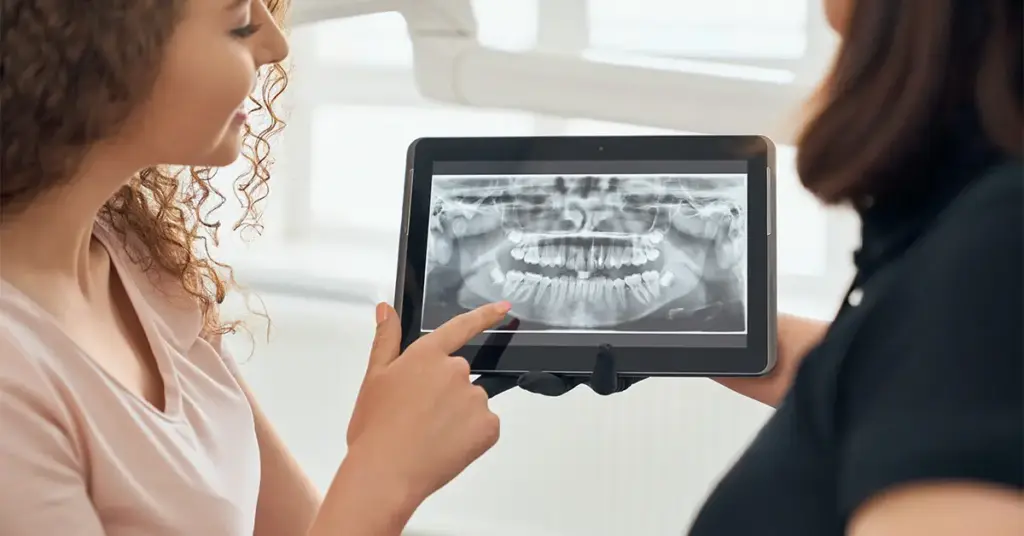
Digital analysis: Facial proportions and smile architecture
The analysis begins by aligning the midline of the face with the position of the upper incisors. The smile arc is traced. The length-to-width ratios of the teeth are evaluated. Gingival zenith points are marked. Lip closure and phonetic boundaries are taken into account. Digital smile design software displays the plan in layers. The dentist tries out the amount of reduction and tooth lengths in a virtual environment. If there is asymmetry, the gum levels are adjusted. The occlusal plane angle is determined. Aesthetics are improved while preserving function. Placing a template on the photograph strengthens patient communication. The consent process becomes clearer. Internal team coordination becomes easier.
Parameters evaluated:
- Midline, smile arc, black triangles
- Tooth length-to-width ratio, contact points
- Gingival visibility and gum symmetry
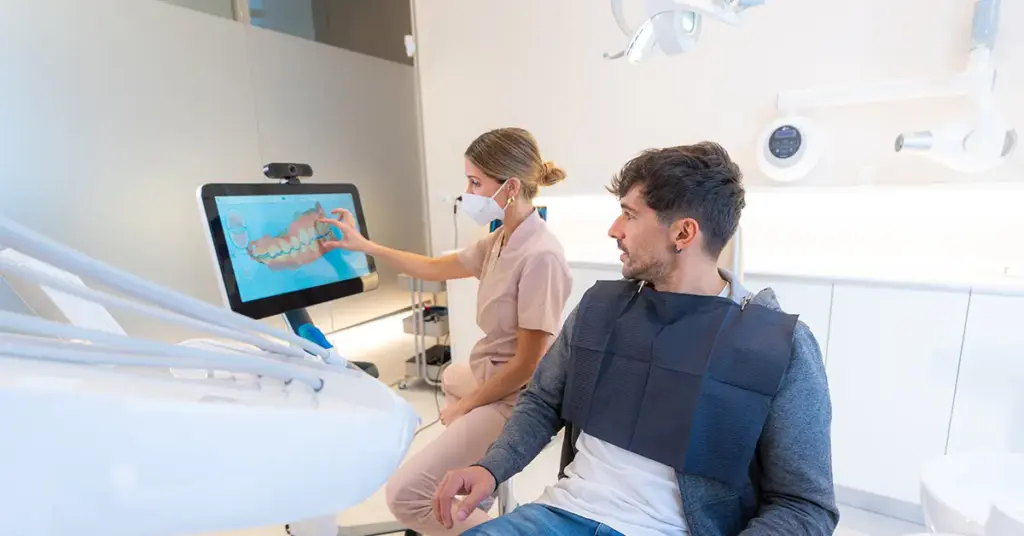
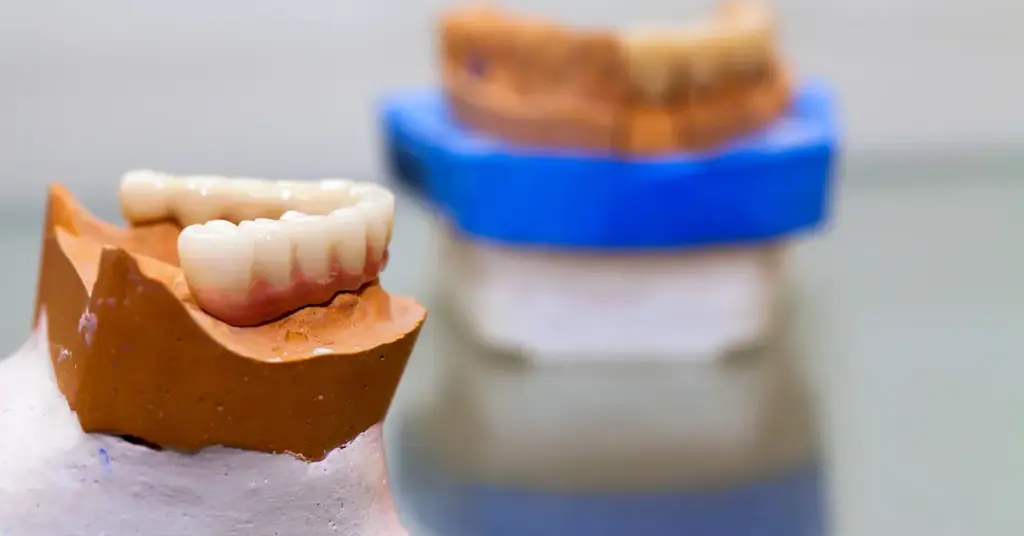
Materialization of the design: Digital wax-up and mock-up trial
The virtual design is transferred to the laboratory. A digital wax-up is produced. A model is created using a 3D printer or milling machine. A temporary mock-up is applied to the mouth using a silicone key. The patient sees their new smile in the mirror and on video. A phonetic test is performed. The F and S sounds are checked. Lip support and length are evaluated. The digital smile design becomes visible at this stage. The design is revised if necessary. Non-abrasive planning is preferred. Biological limits are preserved. The trial gives confidence in the treatment. Expectations become clear. The dentist records the findings.
Checklist during the trial:
- Phonetics and chewing comfort
- Aesthetic harmony and lip support
- Cleanliness, flossing, and edge closure
Treatment plan: Minimally invasive roadmap
The approved design is translated into clinical practice. Priority is given to biology, function, and durability. If necessary, teeth are aligned with light orthodontics. Gingivectomy or crown lengthening may be planned. Porcelain laminate veneers, full ceramic crowns, or composite restorations are selected. The amount of abrasion is minimized with a mock-up guide. Occlusion is adjusted according to the parafunctional history.
The indication for a night guard is evaluated. Digital smile design speeds up communication between the laboratory and the clinic. A color matching appointment is made. Symmetry and brightness are checked. Gingival contouring is completed with temporary restorations prior to delivery. Thus, a conservative and predictable treatment is applied.
Options and indications:
- Orthodontics → position and axis corrections
- Periodontal shaping → gingival level
- Prosthetic restoration → laminate, full ceramic
Duration, cost, maintenance, and long-term success
The process varies depending on the complexity of the case. In simple cases, 2-4 weeks may be sufficient. Multidisciplinary cases may extend to several months. Cost depends on laboratory and material selection. Warranty conditions are provided in writing. Maintenance is essential for long-term success. Night guards are protective for those with a history of clenching. Regular polishing supports color stability. Follow-up visits are scheduled after digital smile design. Occlusion is rebalanced when necessary. Results are archived with photos and videos. These records facilitate revisions. Clear instructions are provided to the patient. Aesthetic longevity increases. Tissue health is preserved.
Care recommendations:
- Professional care every 6 months
- Regular use of the night guard
- Minimizing contact time with acidic beverages